Script Editor
The Script Editor shown here consists of three main sections, the Script tab, the Test tab, and the Settings tab

Objectives Tab
The Objectives Tab is where the majority of a Script's functionality is configured.
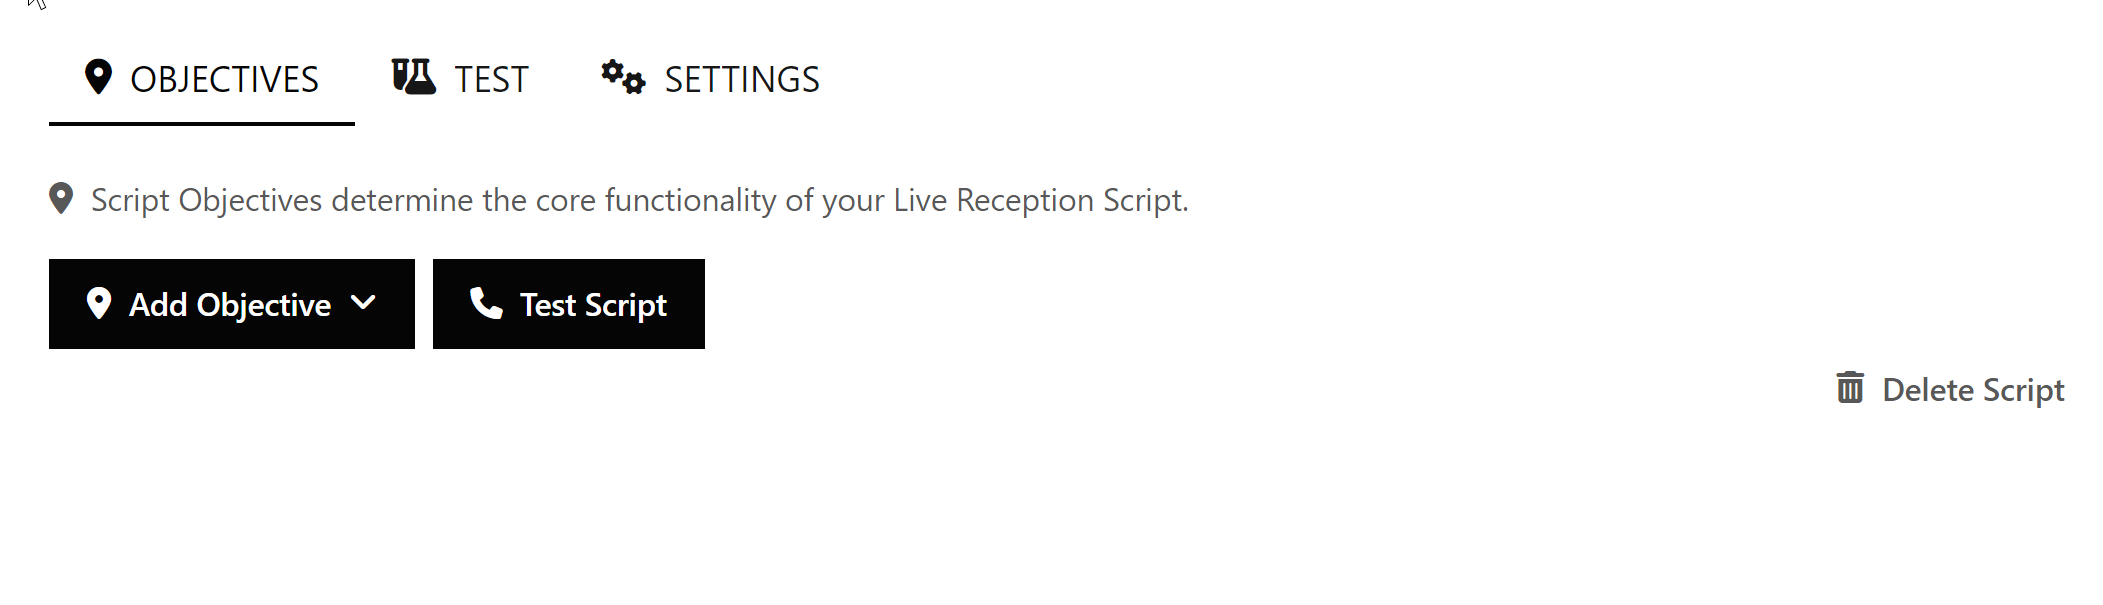
We will discuss Objectives in greater detail in the next article.
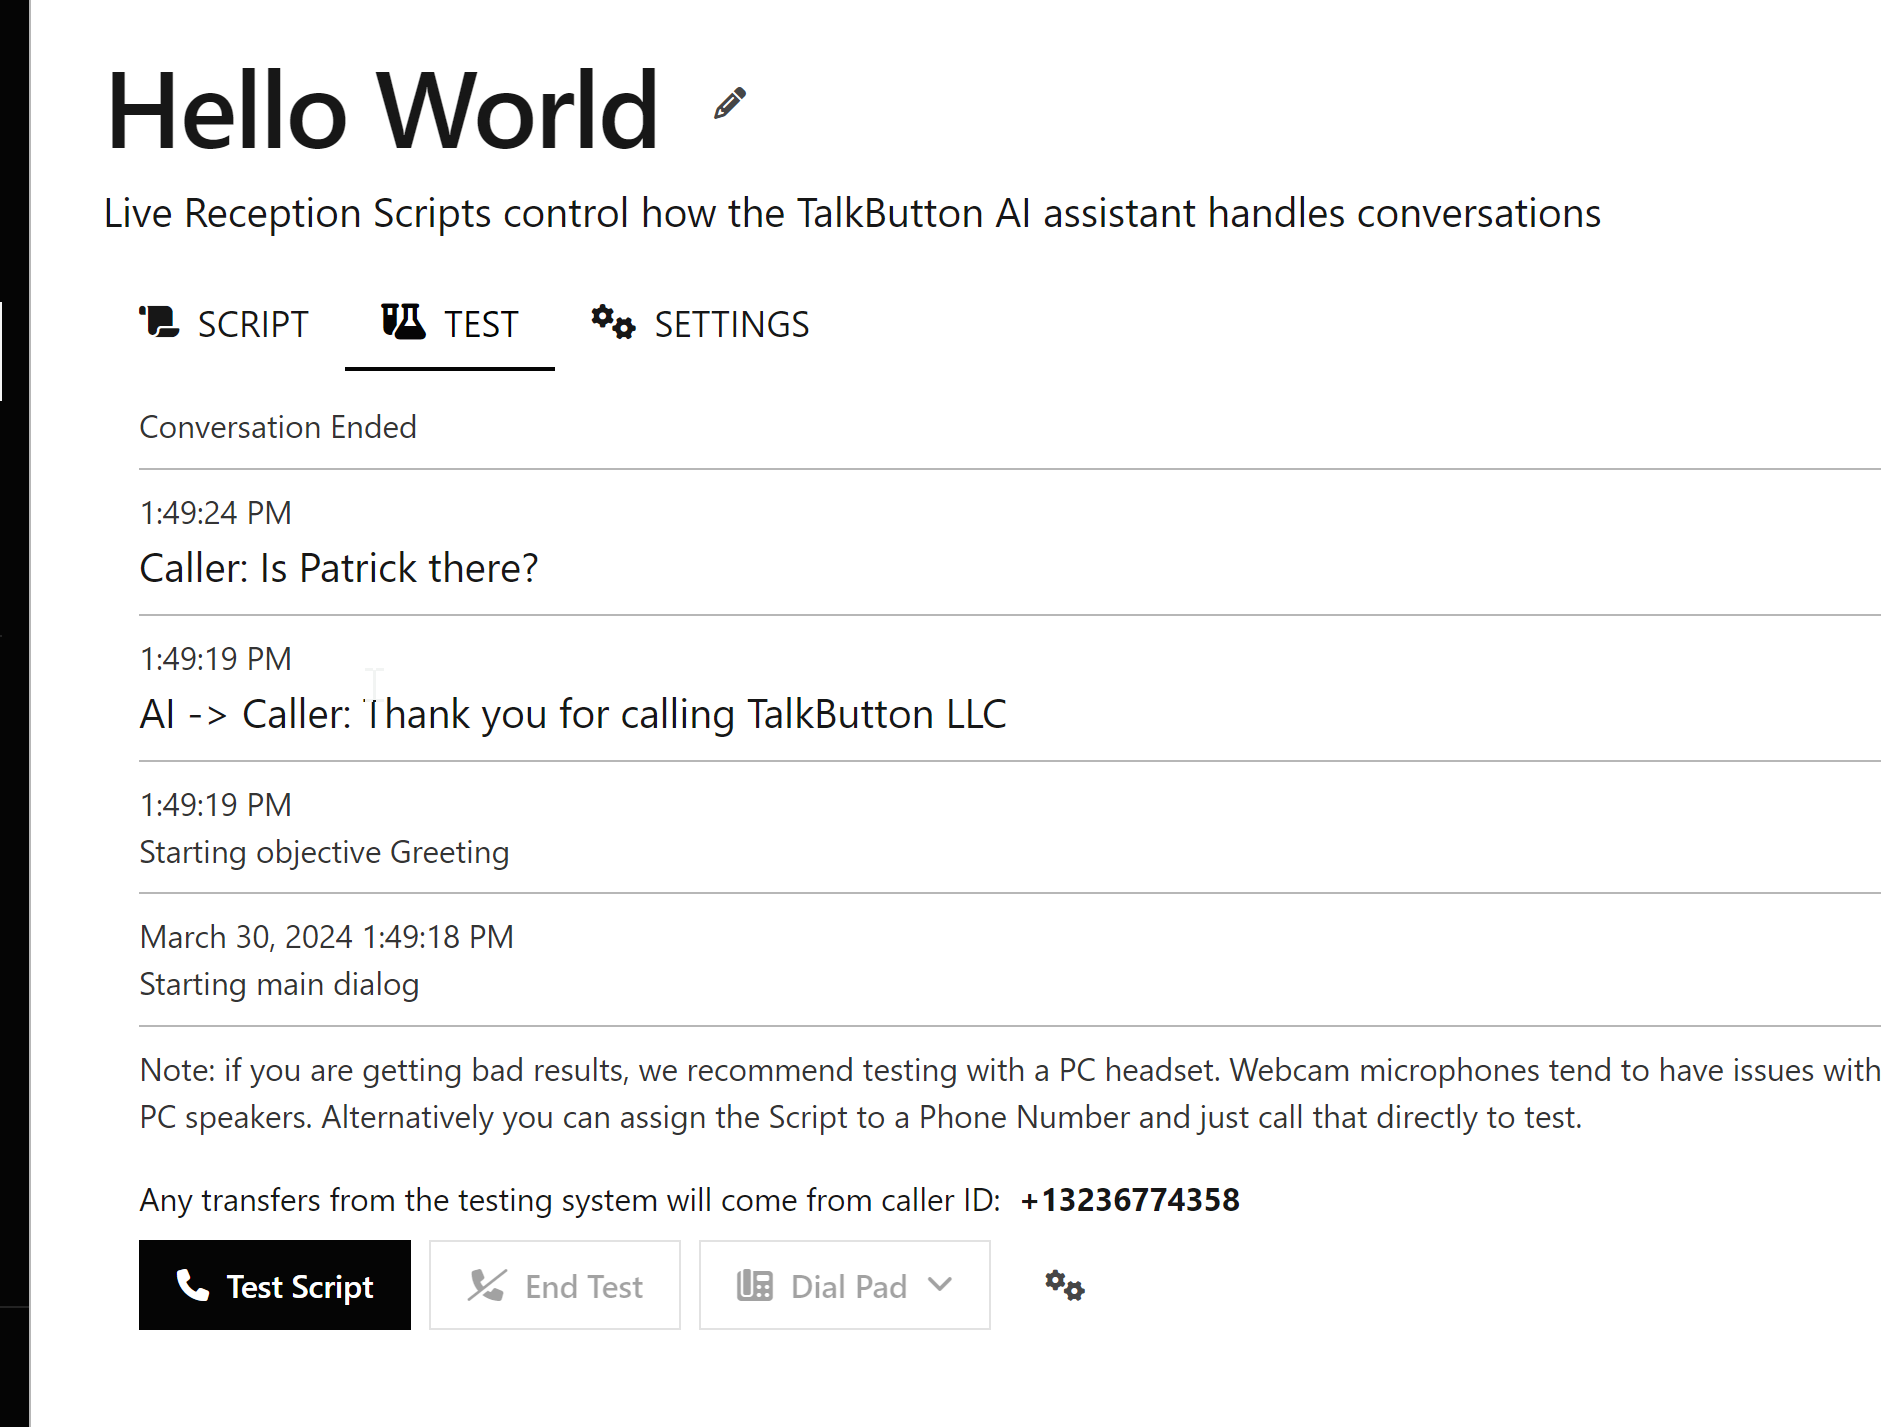
Test Tab
The Test Tab allows you test your script using a PC headset / speakers / mic in exactly the same way as if you had called a phone number assigned to the Script directly. This makes iterating on your script extremely simple.
Test Settings
Prior to testing your scripts, you should make sure to choose the correct phone number and speaker / mic settings:
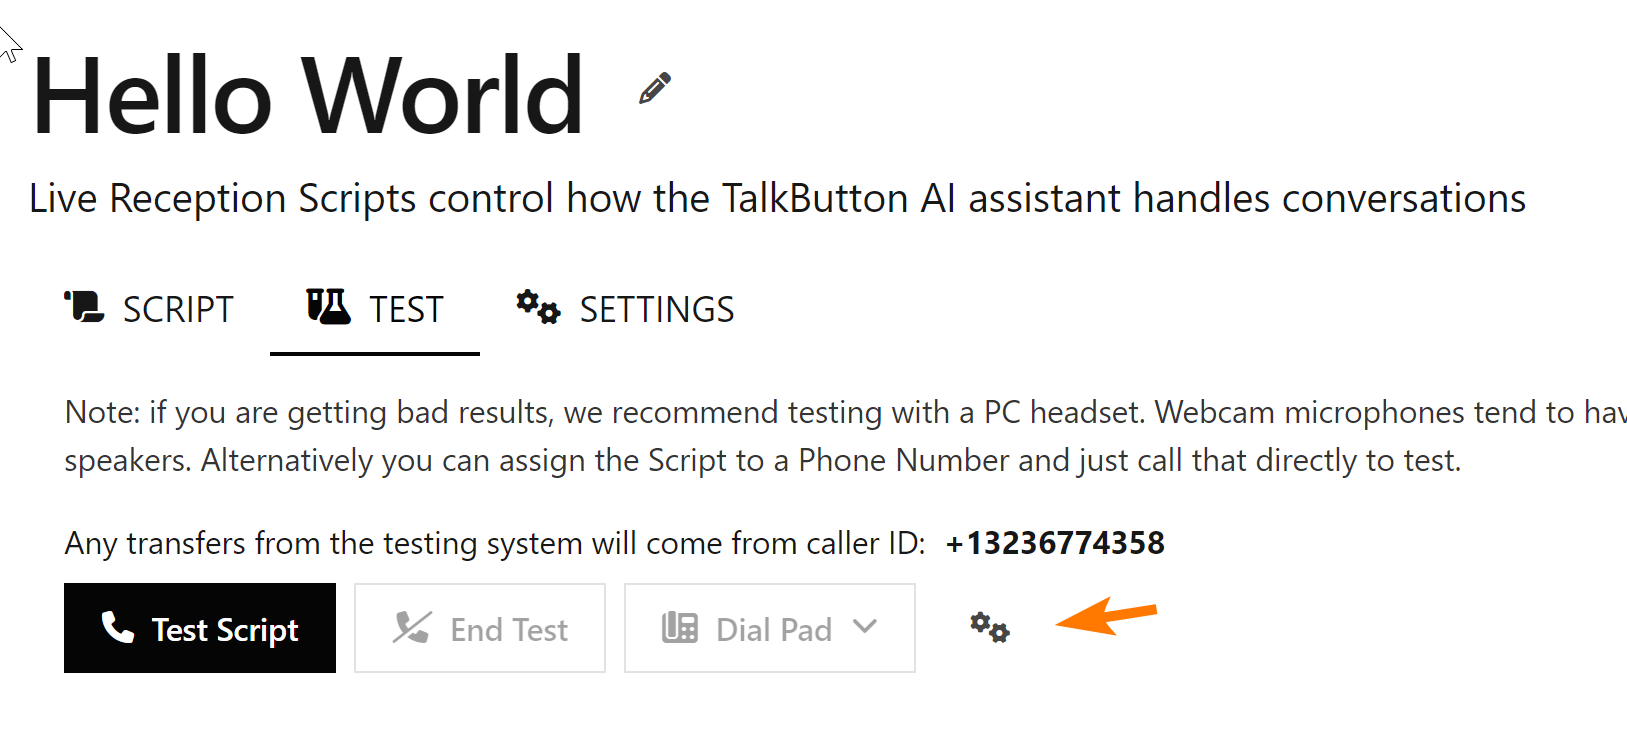
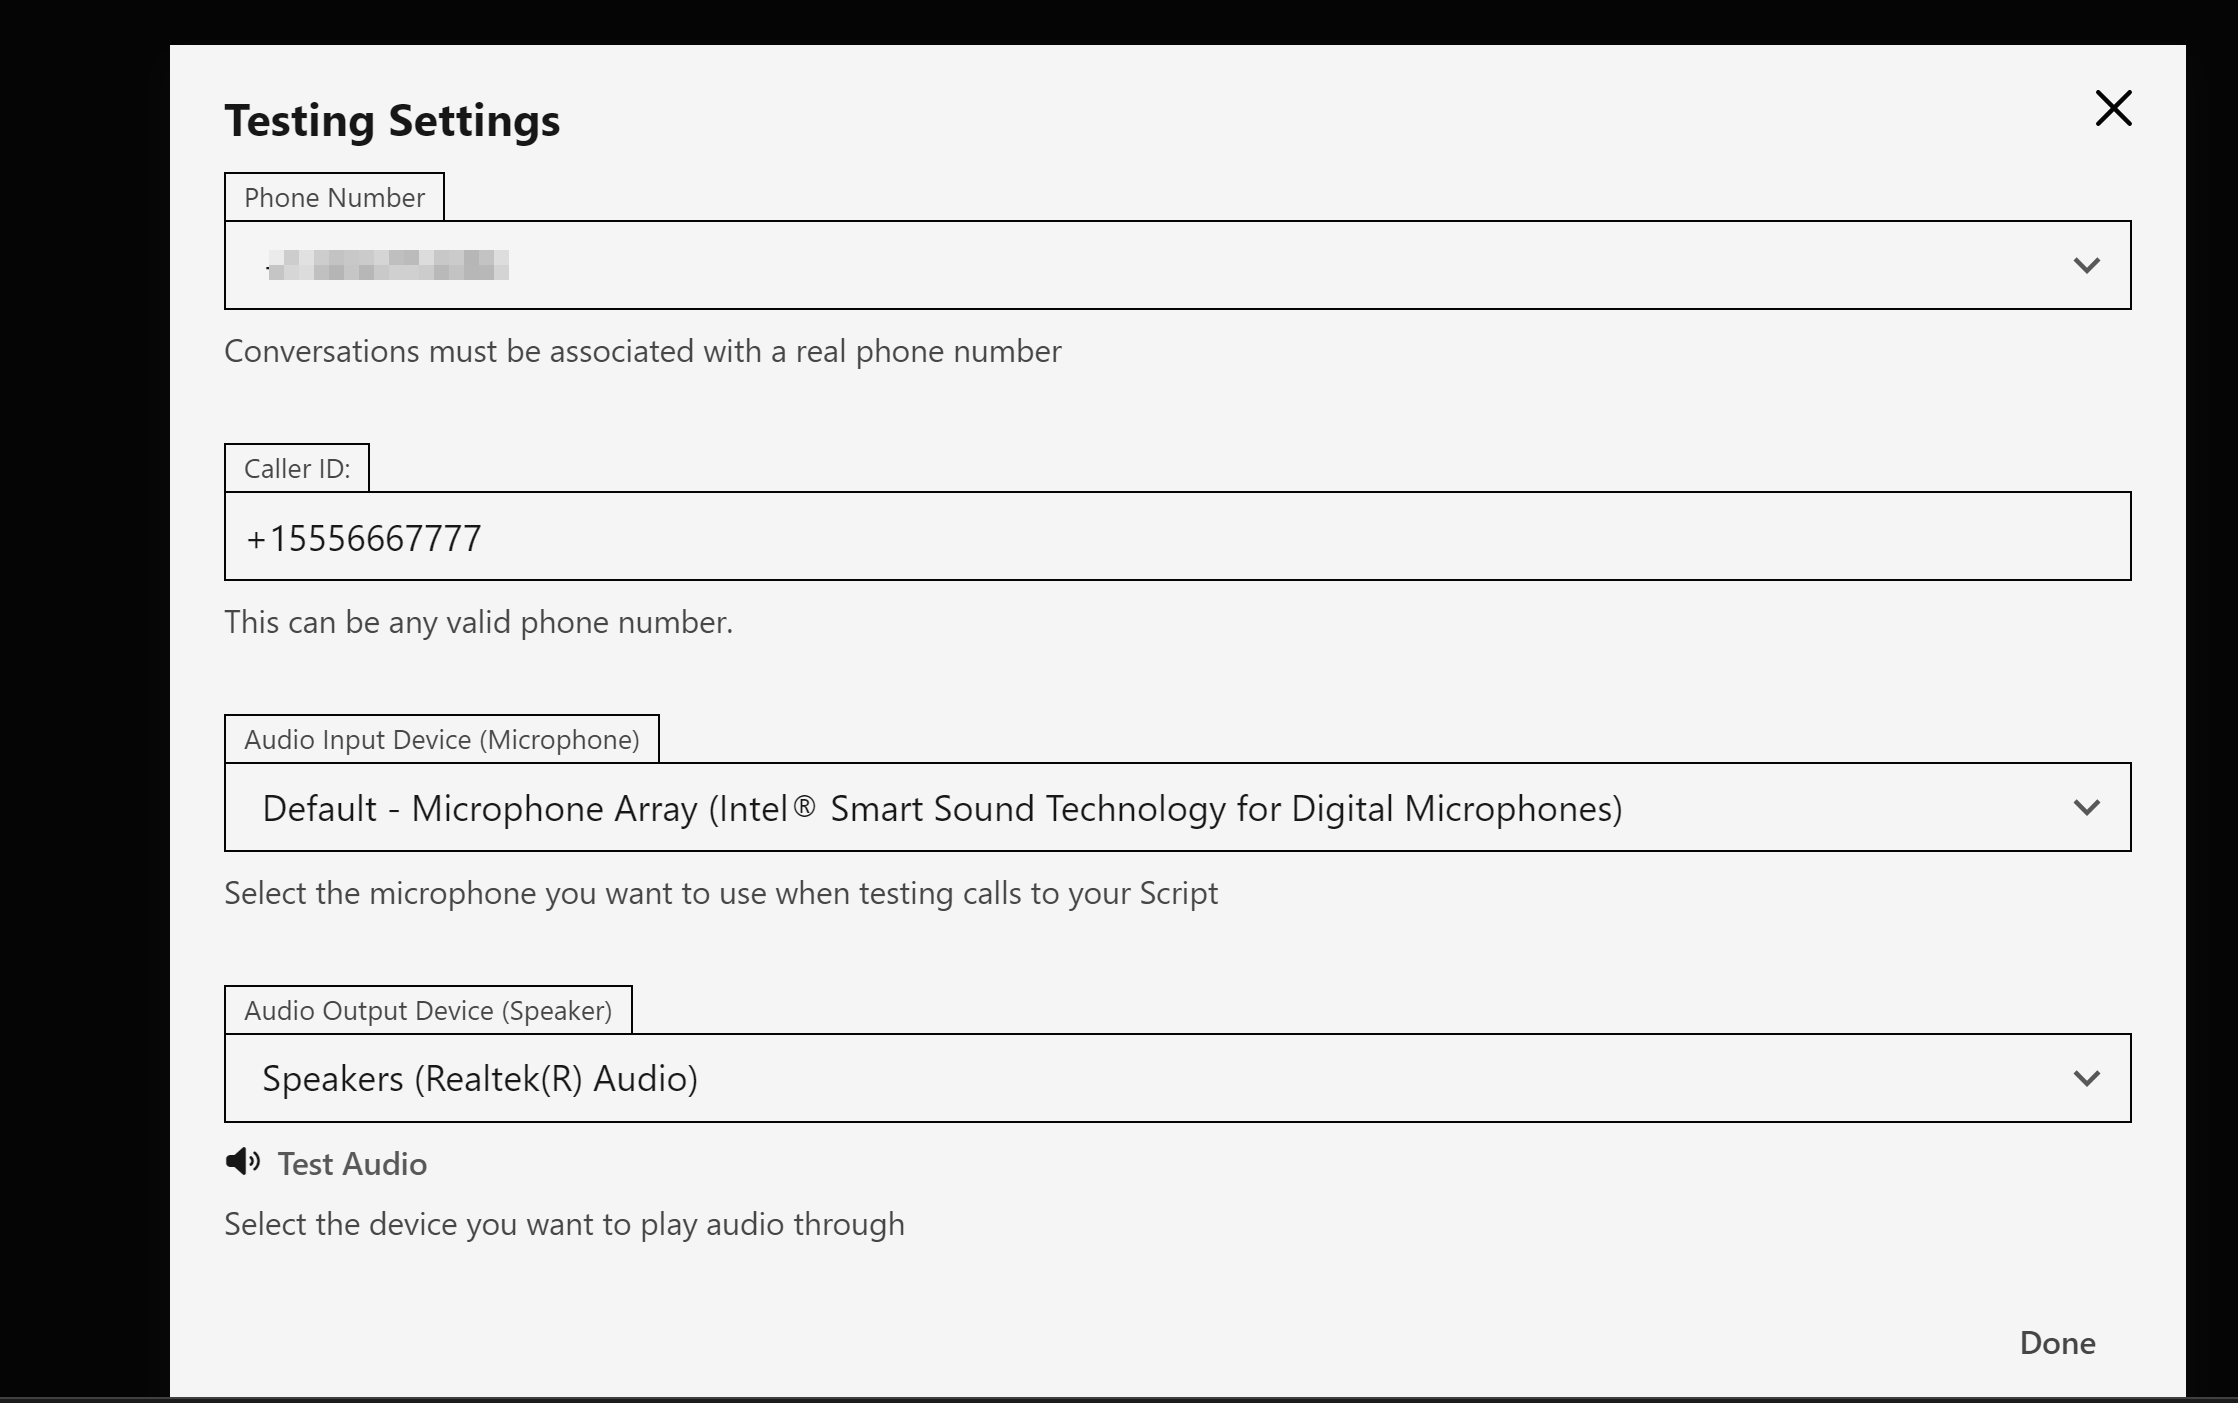
Make sure that you choose a valid speaker and microphone device as well as one of your phone numbers for the Phone Number field.
Even though you won't be calling this number, this step is required as all conversations (even Test ones) need to be associated with a valid phone number.
Testing Scripts
When you click the Test Script button which is located at the bottom of the Script editor, you start a test run of your Script and it will behave exactly as if you had called the phone number directly.
You can end the test at any time by clicking the End Test button and you can also send DTMF keys using the Dial Pad drop down.
Conversation Log
The Test Tab will show a detailed output of the inner workings of your Script including what the AI agent hears / says as well as what functionality is being triggered in your Objectives / Elements.
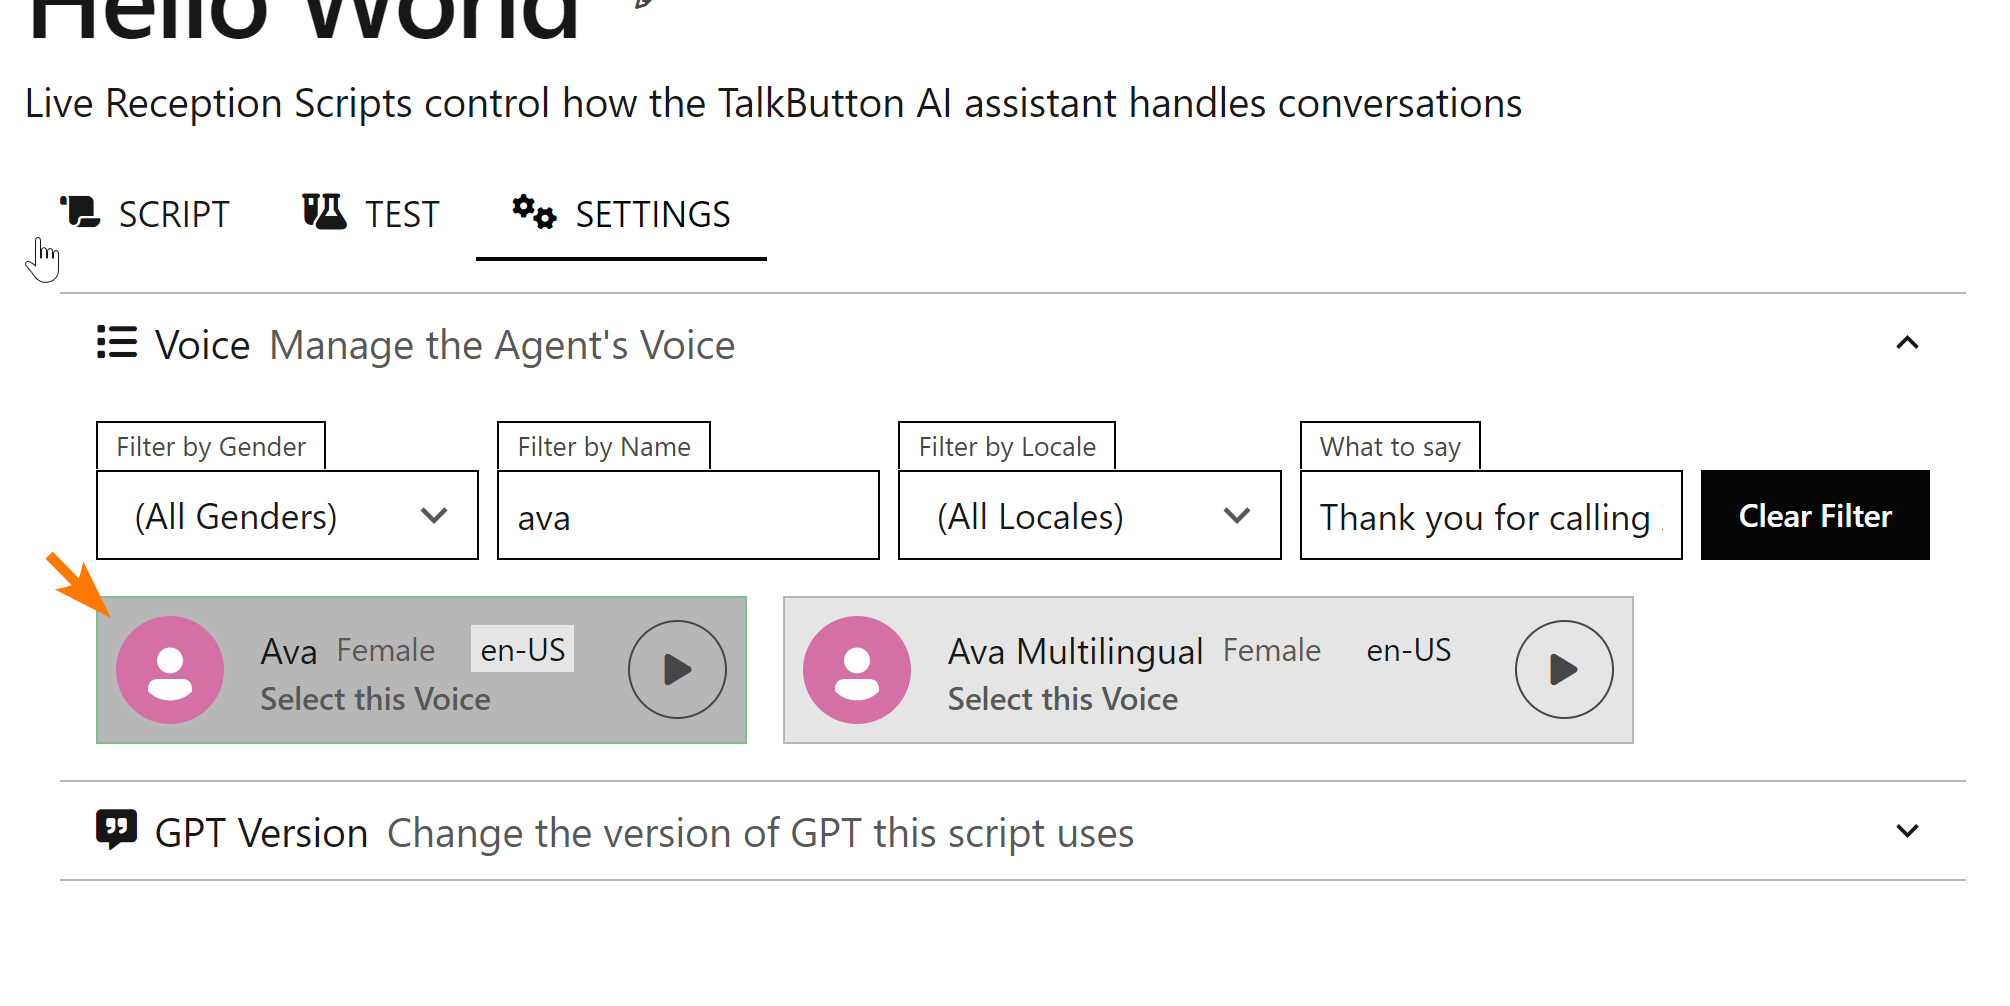
Settings Tab
The Settings tab lets you change the basic settings for the Script including what AI voice to speak using.
Voice List
The Voice list lets you filter voices by gender, name, and locale. It also lets you specify what you want the AI voice to say in case you have something you want to hear specifically:
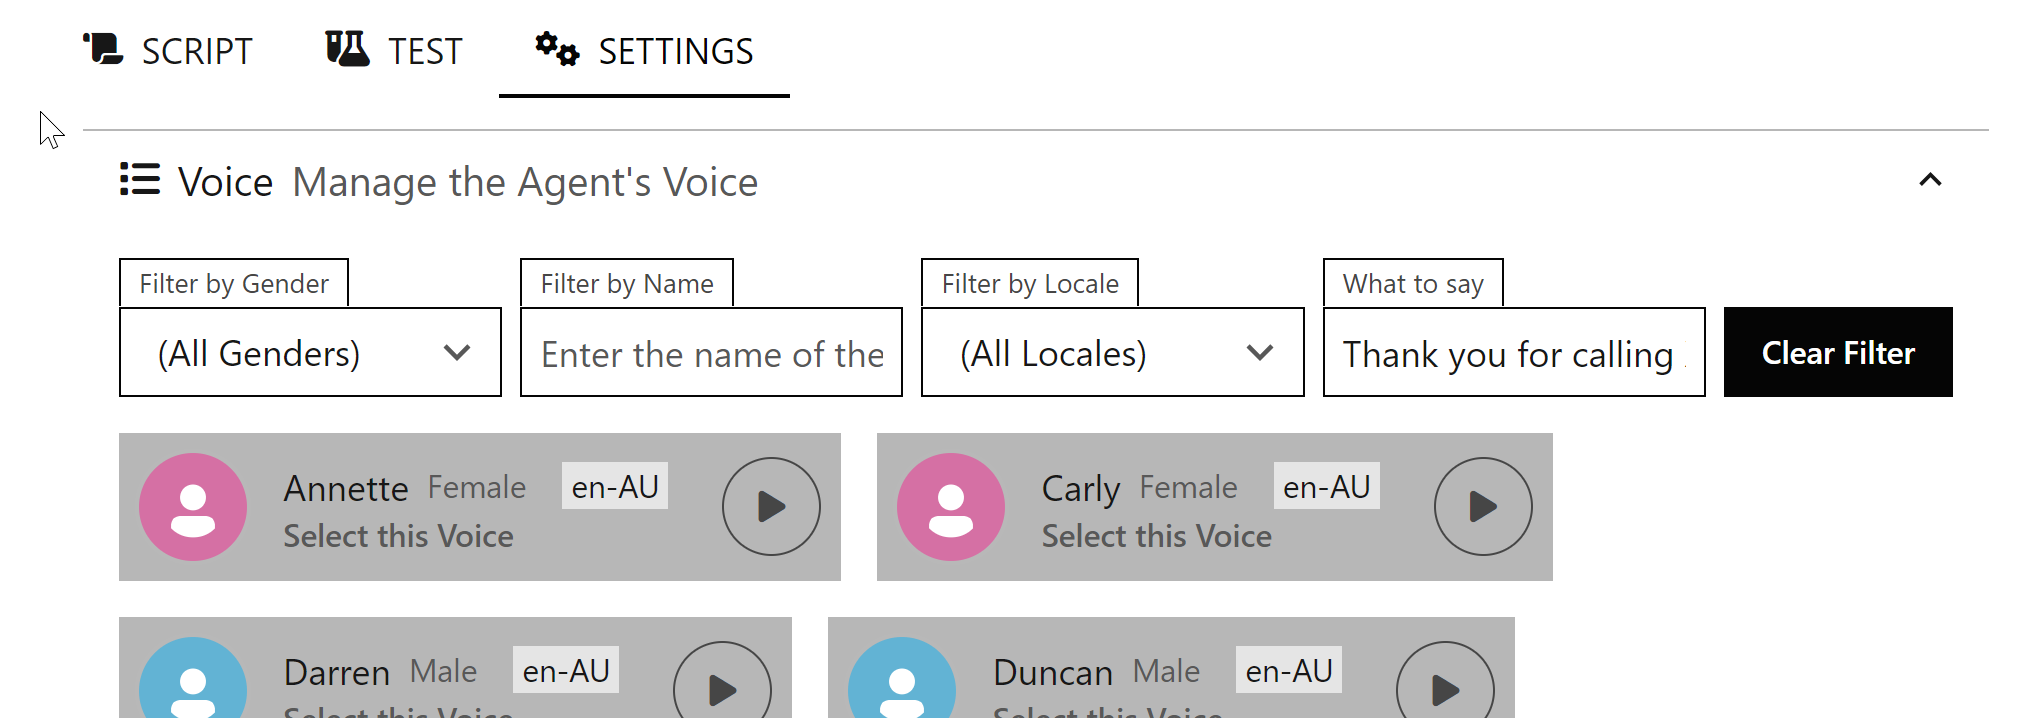
The Play button next to each voice lets you hear what the voice will sound like. To select a specific voice, click the "Select this Voice" link
The selected voice will be displayed with a green outline and a darker background: